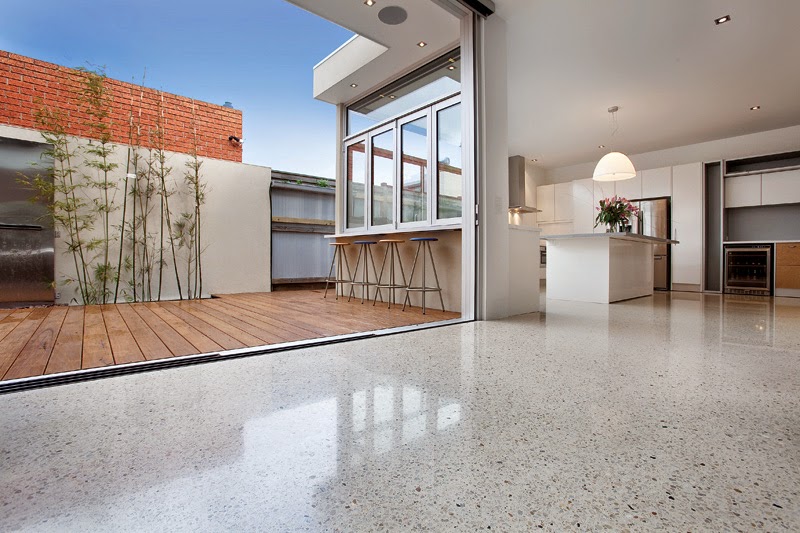
When it comes to reviving the charm of your home or office space, floor sanding and polishing in Melbourne can work wonders. A well-executed sanding and polishing job can breathe new life into your floors, leaving them looking sleek, elegant, and rejuvenated. However, the success of the process heavily relies on proper preparation. In this comprehensive guide, we will walk you through the essential steps to prep your floors for sanding and polishing, ensuring a flawless finish that truly stands the test of time.
-
Clearing the Space
The first crucial step in preparing your floors for sanding and polishing in Melbourne is clearing the space. Remove all furniture, rugs, and other items from the room to create an open and accessible area for the professionals to work their magic. This not only ensures a seamless sanding process but also prevents any potential damage to your belongings.
Additionally, inspect the floor for any protruding nails or staples. These can not only pose a safety hazard but also damage the sanding equipment. Use pliers or a pry bar to remove any such obstacles, ensuring a smooth and efficient sanding process.
-
Repairing Imperfections
Before diving into the sanding and polishing process, it’s crucial to address any imperfections in your floor’s surface. Melbourne’s diverse climate can take a toll on wooden floors, leading to cracks, gaps, or uneven surfaces. Fill in these imperfections with a high-quality wood filler, ensuring a level and uniform base for the upcoming sanding.
For deep scratches or gouges, consider using a wood putty that matches the color of your floor. Sand the filled areas lightly once the filler has dried to achieve a seamless and natural look. This meticulous approach to repairs ensures that your floors will not only look polished but also maintain their structural integrity.

-
Thorough Cleaning
A clean surface is paramount for the success of any sanding and polishing project. Begin by sweeping or vacuuming the entire floor to remove loose dirt and debris. Pay extra attention to corners and edges where dust tends to accumulate.
Follow up with a damp mop or cloth to remove any remaining dust particles and stains. For stubborn stains or sticky residues, use a gentle wood floor cleaner recommended by professionals. Avoid harsh chemicals that may damage the wood or leave behind a residue that interferes with the sanding and polishing process.
-
Sanding Preparations
With the space cleared, imperfections addressed, and the floor thoroughly cleaned, it’s time to prepare for the main event – sanding. Begin by choosing the appropriate grit for your floor type. Coarse grits are suitable for removing old finishes or deep scratches, while finer grits are used for a smoother finish.
Ensure you have the necessary safety gear, including a dust mask and eye protection, before starting the sanding process. If you’re not familiar with operating a floor sander, consider hiring a professional for this critical step to achieve the best results. Remember to sand along the grain of the wood to prevent any damage and achieve a uniform finish.
Conclusion
In conclusion, prepping your floors for sanding and polishing in Melbourne requires careful attention to detail and a systematic approach. By clearing the space, repairing imperfections, thoroughly cleaning, and making proper sanding preparations, you set the stage for a successful floor transformation. Whether you’re tackling the project yourself or entrusting it to professionals, these steps ensure that your floors will be ready to showcase the beauty of Melbourne’s floor sanding and polishing expertise.
We would love to hear about your experiences with floor sanding and polishing in Melbourne. Share your thoughts, tips, or questions in the comments below!


